
Storing and updating patient insurance details
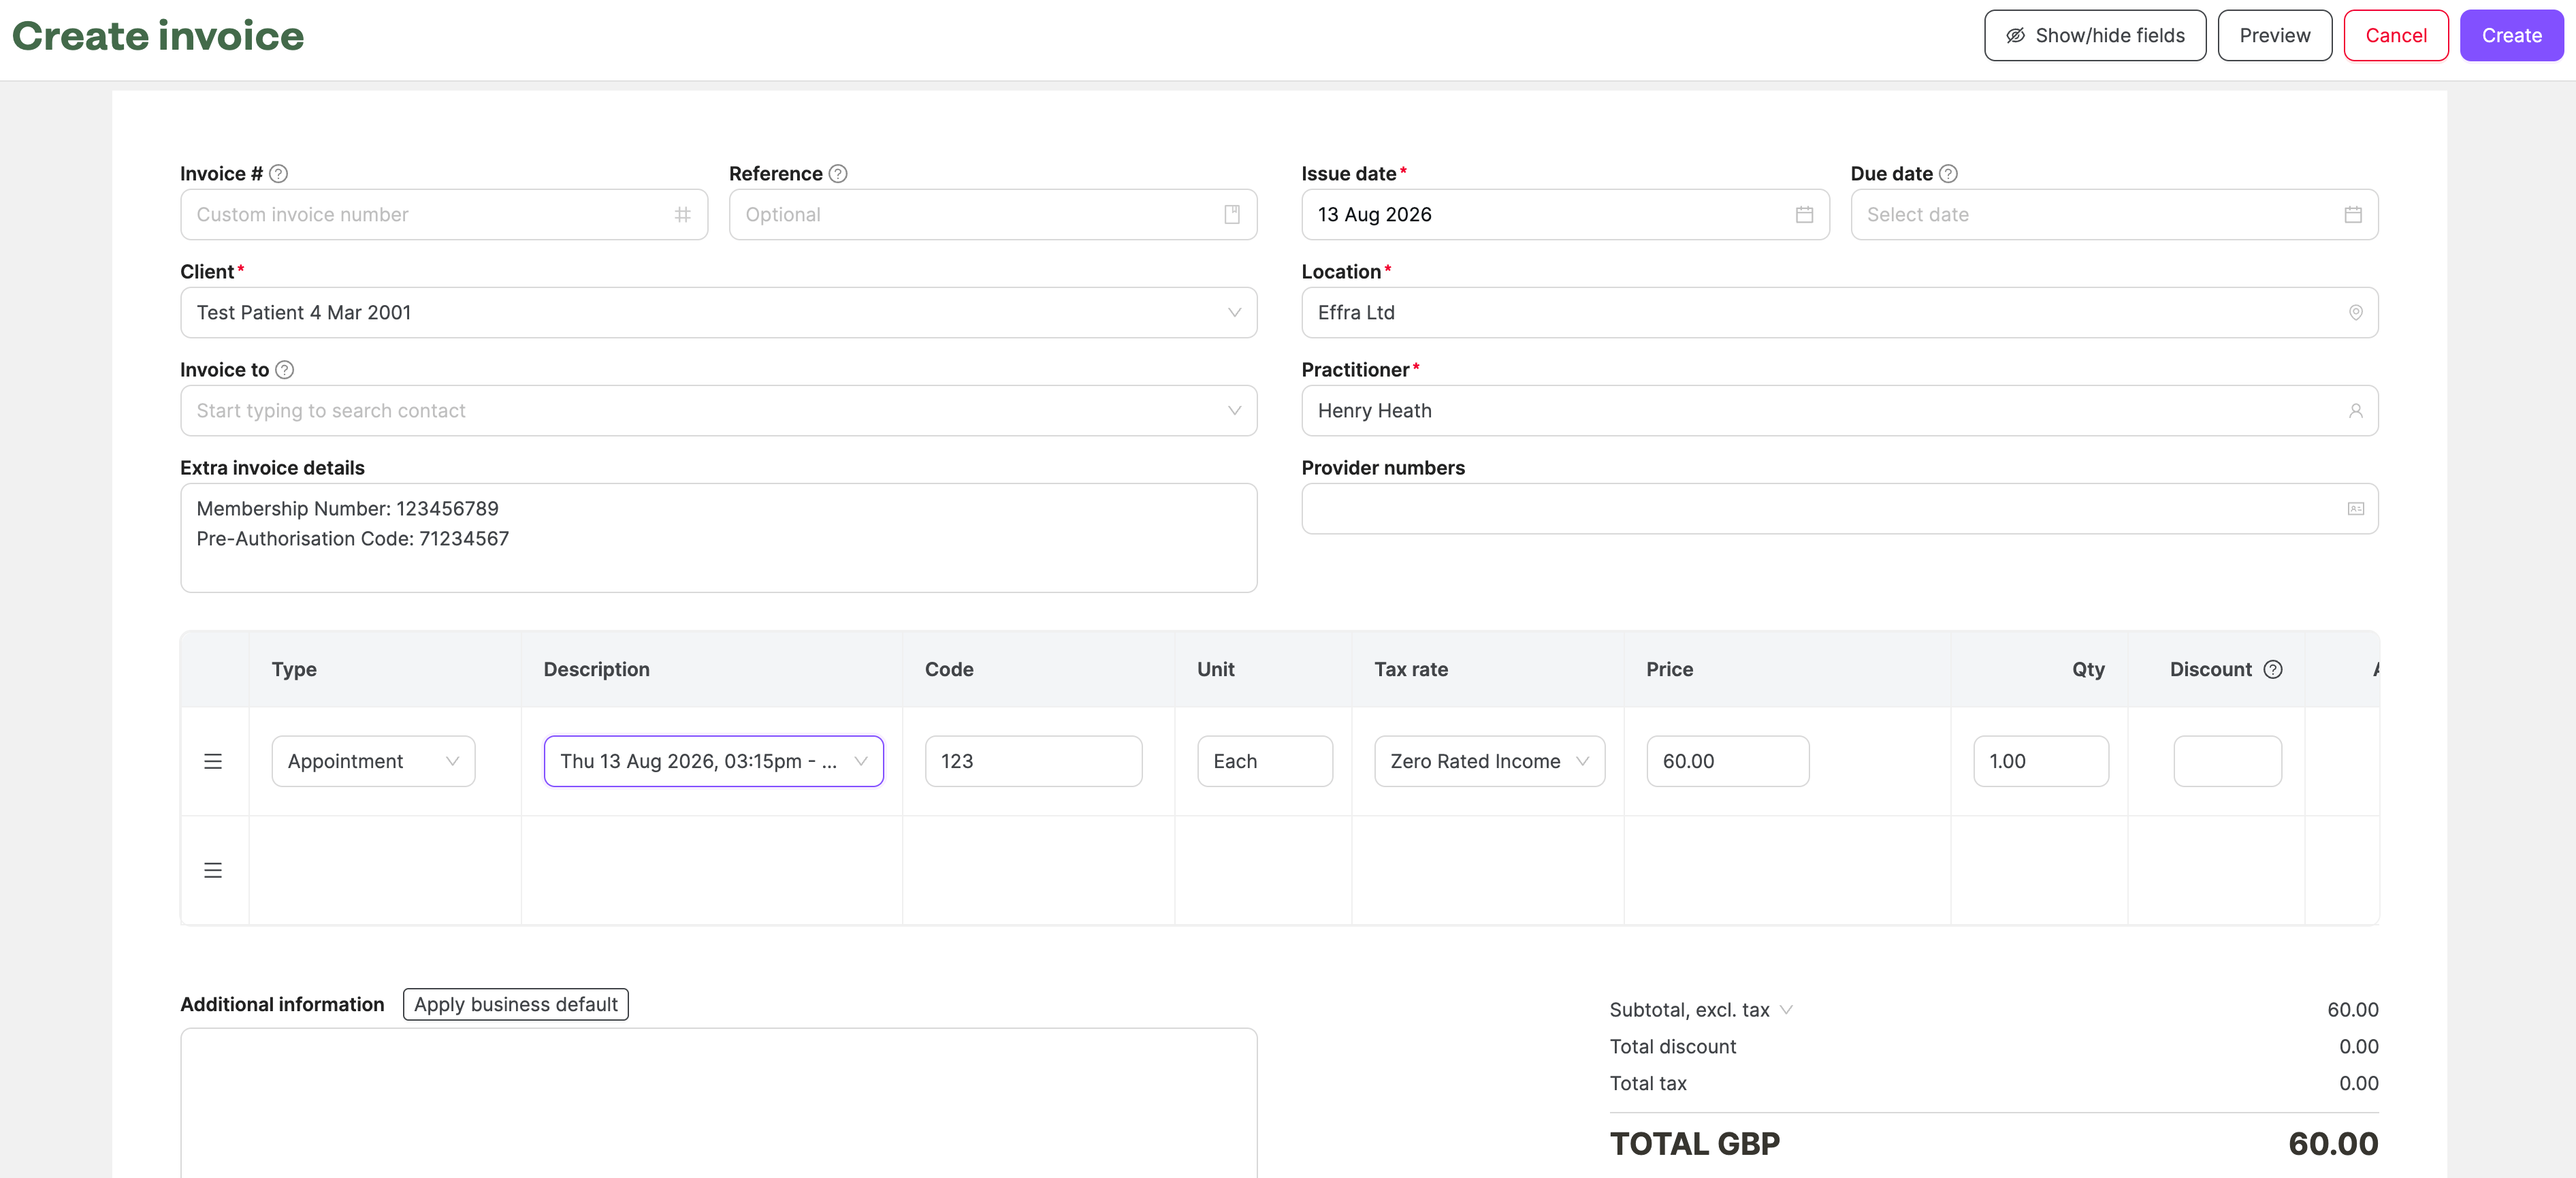
Having set up your Splose account with Effra, you’ll need to make sure you store patient insurance details in the right place so that we can smoothly submit your invoices. In Splose, Effra extracts the insurance policy number and authorisation number from each invoice. There are two main options to ensure that these details are included in all the relevant invoicesCases
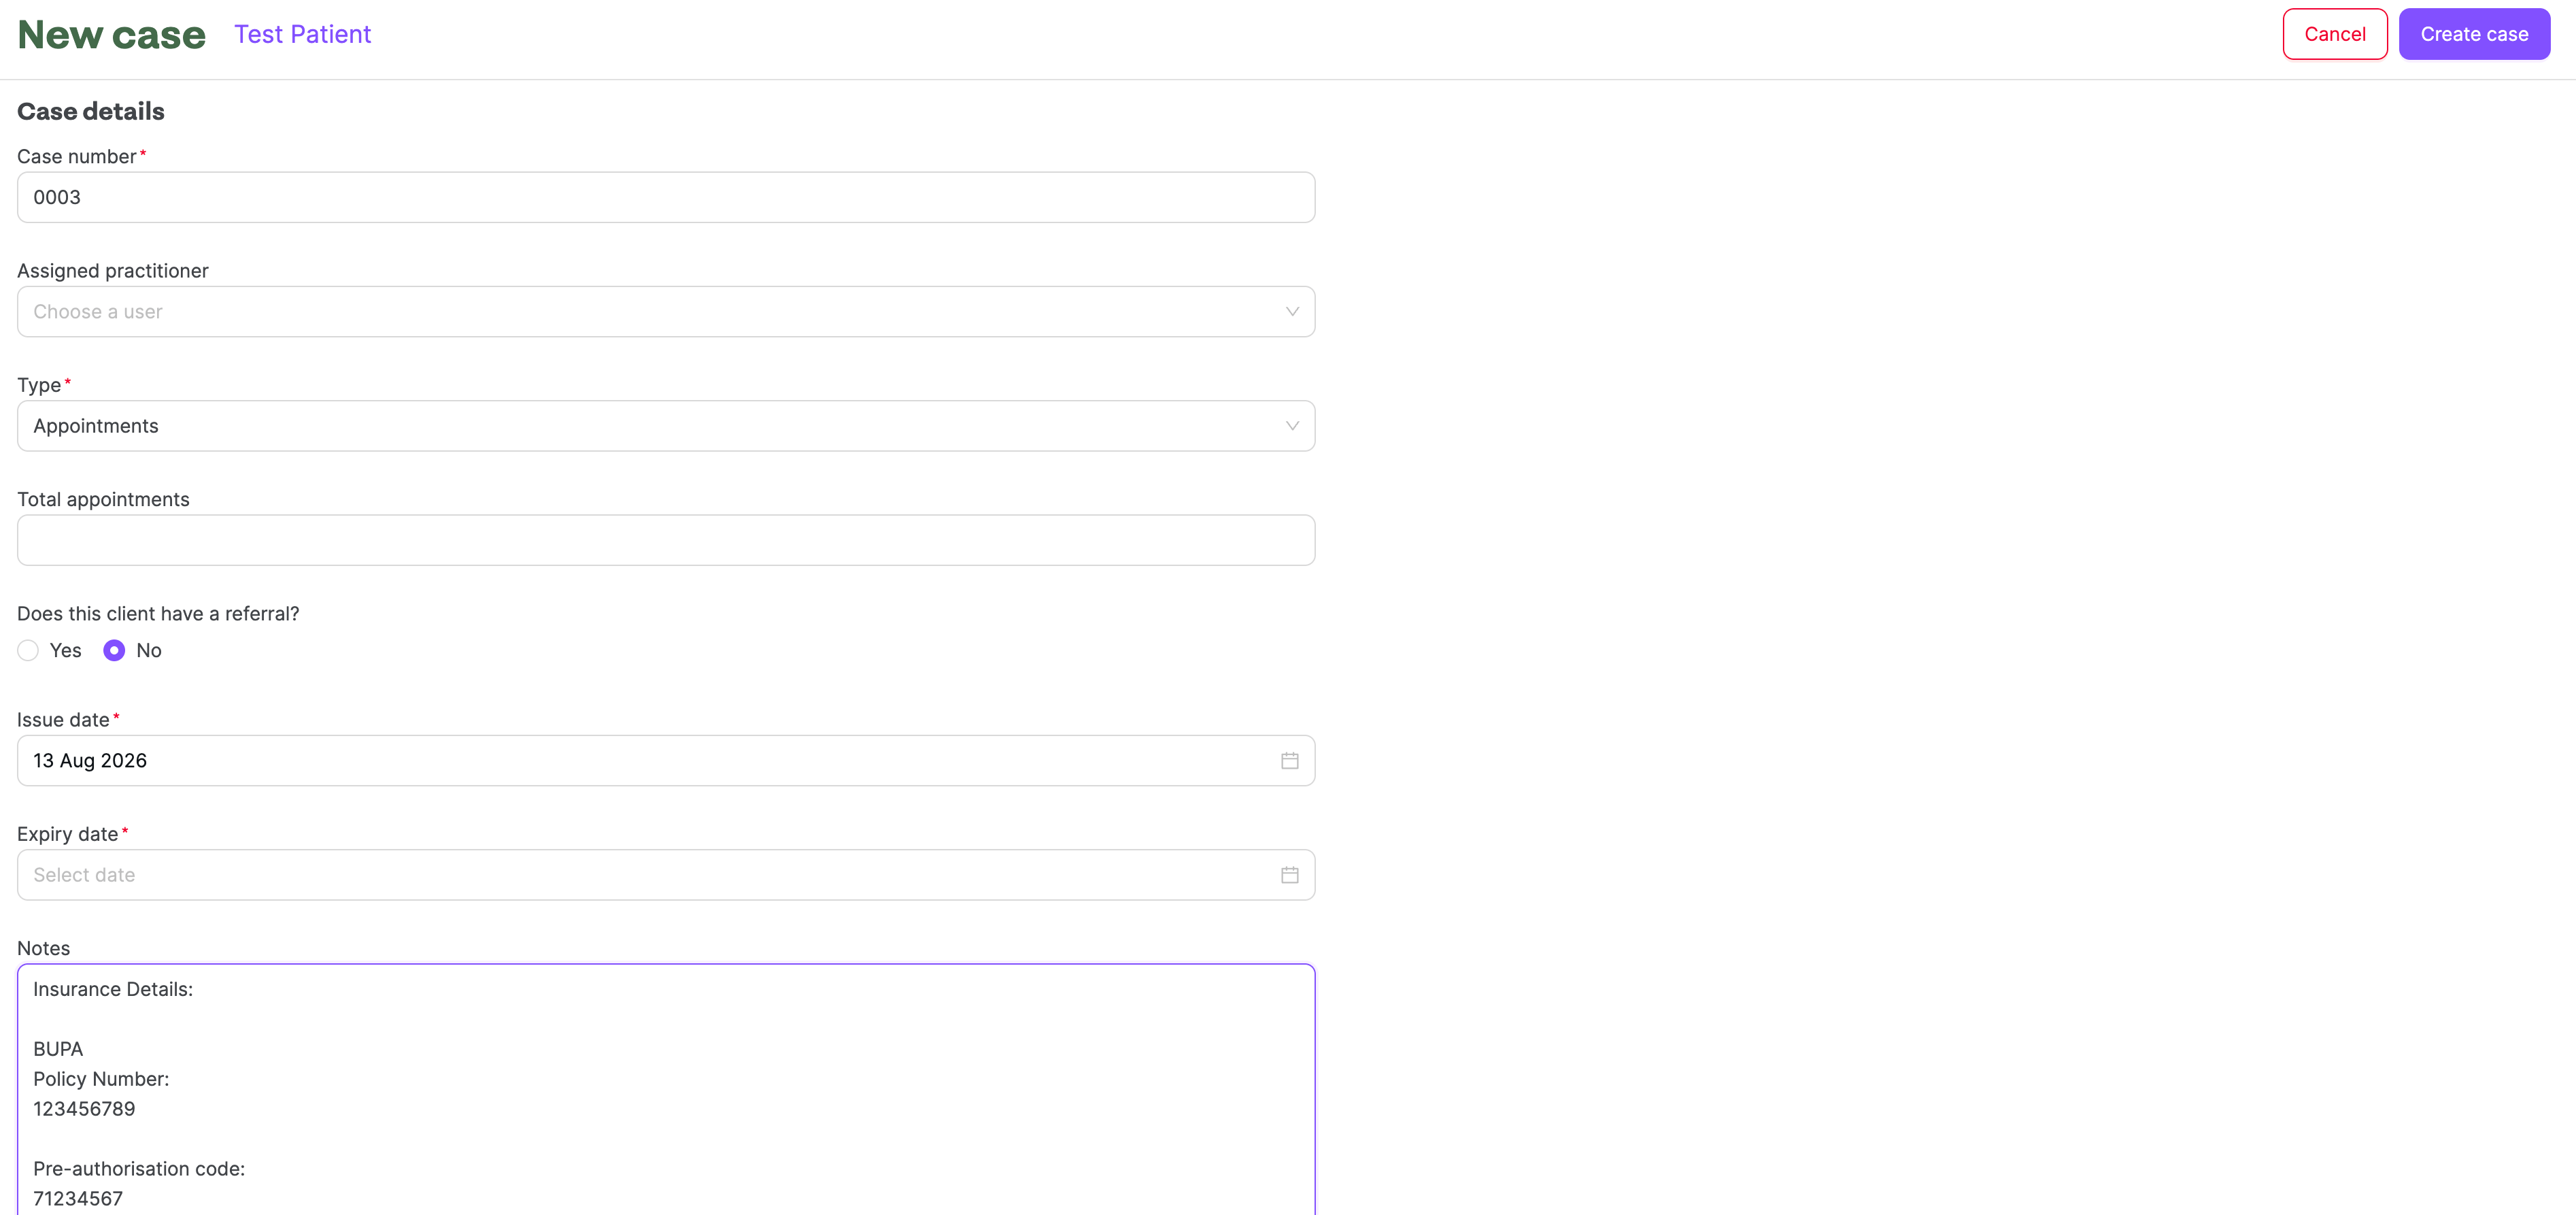
The best option is to save insurance information in a case linked to the patient. To do this:- Navigate to your Patients/Clients page within Splose
- Search for and select a patient/client
- Within their profile, navigate to the Cases tab
- Select New case
- Complete the mandatory fields and add the insurance information to the Notes box
- Select Create case in the top right of the page
Patient Profile
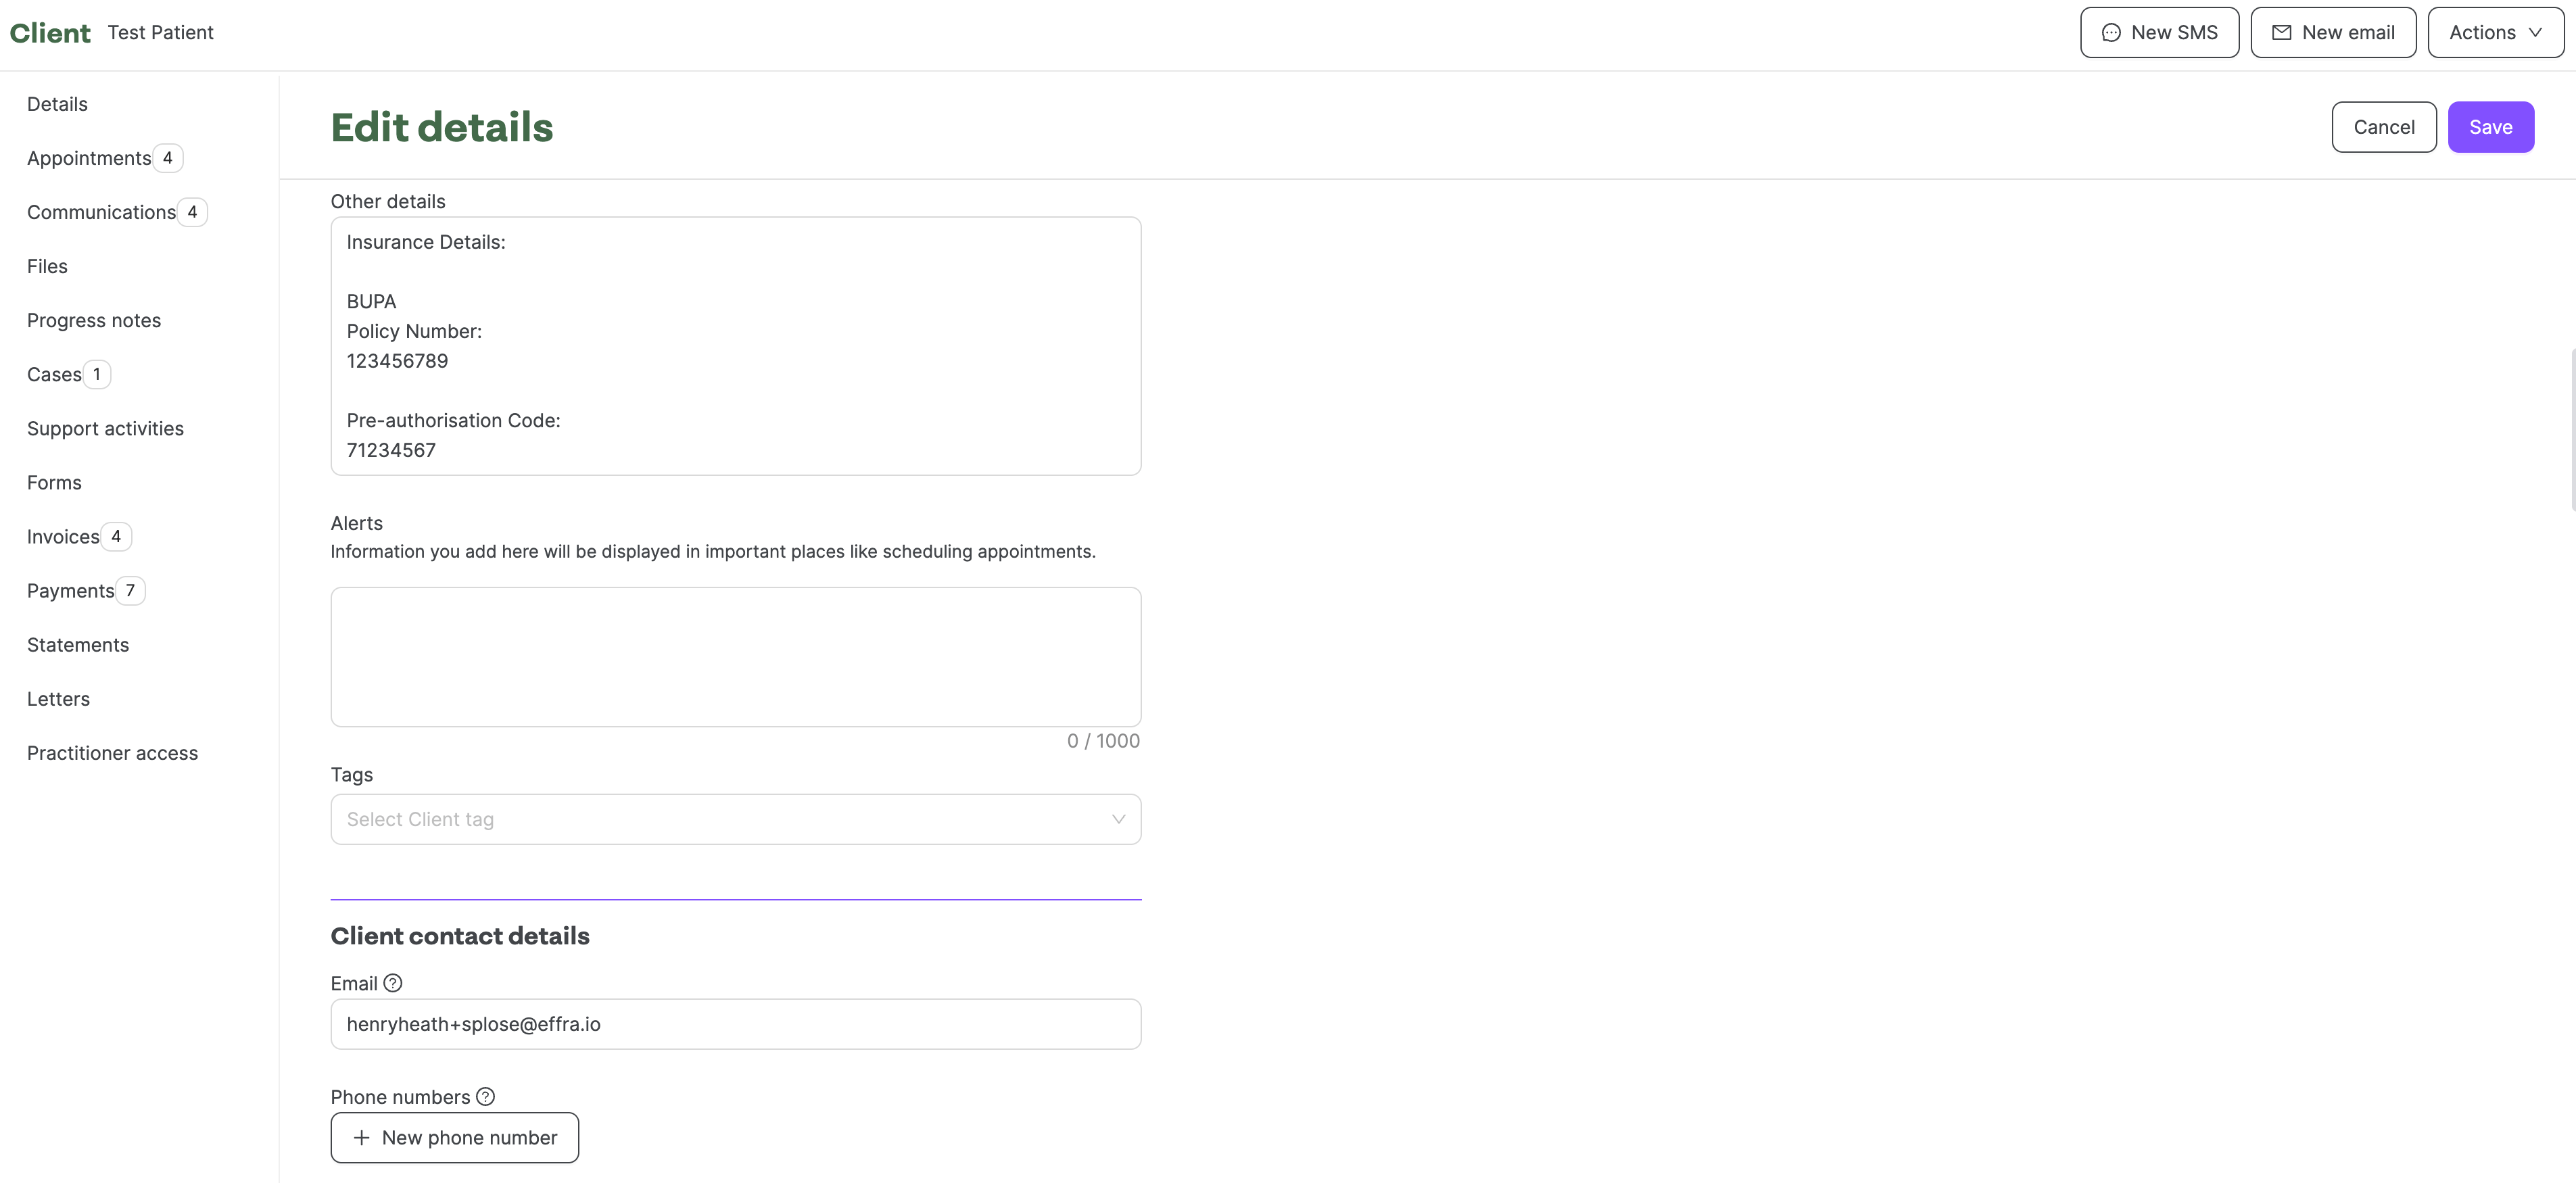
Alternatively, you can save the details within the Other details section of a patient/client’s profile. To do this:- Navigate to your Patients/Clients page within Splose
- Search for and select a patient/client
- Within their profile, click Edit
- On the Edit details page, add the insurance information to the Other details box
- Select the Save button in the top right of the page
Submitting an invoice through Effra
With your patient’s insurance details saved, you’re now all set to raise invoices and submit them using Effra. There are three options to create an invoice in Splose:- Direct from a calendar appointment (recommended)
- In a Client/Patient’s profile, within the Invoices tab
- On the Invoices page